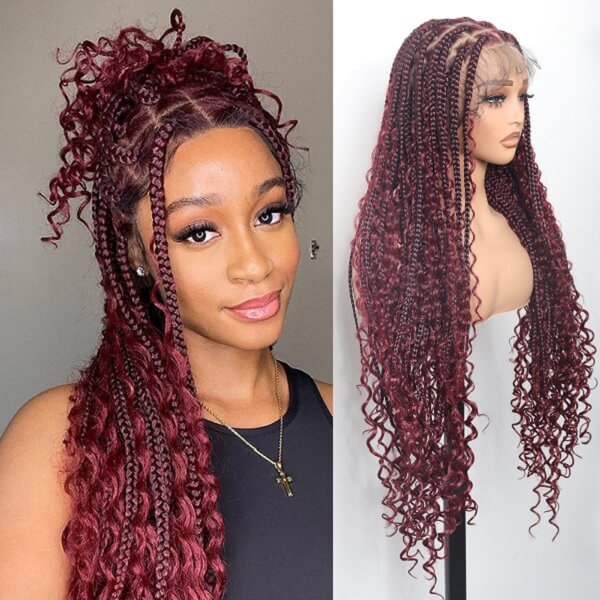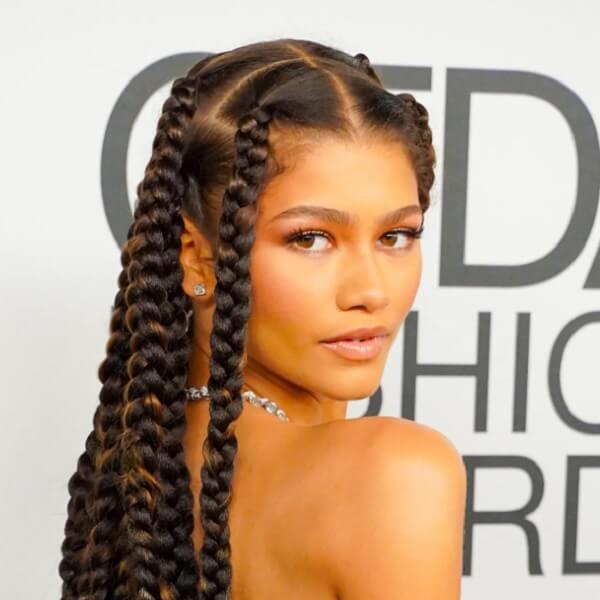
When it comes to box braids, how you part your hair is one of the most important steps. If the parts aren’t neat and even, it can affect how the braids look—messy parts can make everything seem uneven. On the other hand, clean, precise parts create a neat, polished look.
Proper parting isn’t just about making your braids look good—it also helps them last longer. Neatly parted sections keep each braid secure, which reduces stress on your hair and scalp. This makes your braids last and keeps your scalp healthy, too. Whether you're doing your braids yourself or getting them done professionally, taking time to part your hair correctly can make a big difference in both the look and the longevity of your braids.
In this article, we’ll guide you through the best methods for parting your hair for box braids, helping you achieve a flawless look that lasts.

Preparing for Box Braids
Before you start parting your hair for box braids, it’s important to prepare both your hair and your tools. Here’s what you need to do to set yourself up for success:
Know Your Hair Type
Understanding your hair’s texture, length, and thickness will help you choose the best parting method. This will also guide you in selecting the right size and number of braids to achieve your desired look. Keep in mind that if your hair is longer or thicker, you may need more time and supplies to get the results you want.
Gather Essential Tools
To make the parting process easier, make sure you have these tools on hand:
- Rat-tail comb: For creating precise parts.
- Wide-tooth comb: For detangling your hair before parting.
- Clips: To keep sections of hair out of the way while you work.
- Leave-in conditioner: To moisturize your hair and keep it manageable.
- Spray bottle: Fill it with water or a moisturizing solution to dampen your hair and make parting smoother.
- Mirror: A handheld mirror or a full-length mirror will help you see the back of your head and make sure the parts are even.
Prep Your Hair
Properly prepping your hair is key to a smooth parting process. Start by cleansing your hair with a gentle shampoo to remove any buildup. Follow up with a moisturizing conditioner to keep your hair hydrated. After rinsing, gently detangle your hair using a wide-tooth comb, working from the ends to the roots. This will prevent knots and minimize breakage.
Once detangled, apply a leave-in conditioner to lock in moisture, and use your spray bottle to lightly dampen your hair if it feels dry. This helps make the hair more manageable, preventing it from getting too frizzy or hard to work with during the parting process.
With your hair prepped and the right tools in hand, you’re ready to start parting for box braids!

Decide the Parting Styles and Sizes
Choosing Your Parting Style:
The first step is to decide which parting method fits your desired look. If you're after a more structured, organized style, go with the grid method. If you prefer a unique look, the triangular method is a great option.
Grid Method:
The grid method is a popular parting technique for achieving a symmetrical, neat, and organized look. Start by parting your hair horizontally at the nape of your neck using a rat-tail comb. Secure the remaining hair with clips or elastics to keep it out of the way. Create another horizontal part about 1 inch above the first one, and continue this process, creating parallel horizontal lines all the way up to the top of your head. After that, use your rat-tail comb to create vertical partings that are perpendicular to the horizontal lines, forming a grid-like structure. The grid method provides a clean, even look, making it perfect for uniform braids. If you’re going for small, neat braids, this method helps maintain consistency throughout.

Triangular Method:
For making sure the triangle shapes are consistent in size and symmetry. Continue creating diagonal parts from front to back across the scalp until you’ve sectioned the entire head. The triangular method is great for a more relaxed, unique appearance, and it works best for those who prefer a more natural, chic style.

Choosing the Right Size for Braids:
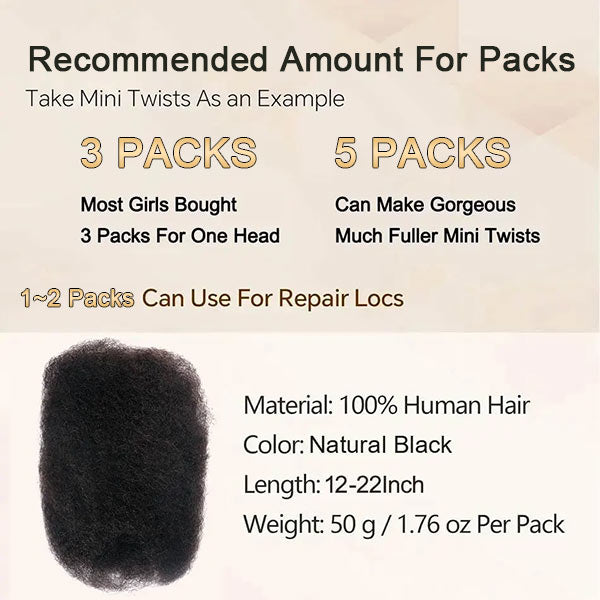
- Small, Medium, or Large Braids: The size of your braids will affect how you part your hair. Small braids will provide a more intricate and defined appearance but typically take more time to install, while large braids will offer a bold and statement-making style and are quicker to achieve. Adjust the size of your sections based on the braid style you want to achieve.
Section Your Hair into Manageable Parts
Achieving neat and professional-looking box braids begins with properly sectioning your hair. Here's how to do it:
Step 1. Subdivide Larger Sections:
- Start with Major Divisions: Begin by parting your hair into four main sections—two at the front and two at the back.
- Create Smaller Subsections: Within each major section, divide your hair into smaller parts, approximately 1-inch wide. This size ensures each braid is uniform and manageable.
Step 2. Ensure Consistency in Section Size:
- Use a Measuring Tool: To maintain uniformity, consider using a rat-tail comb to measure and part each section evenly.
- Visual Checks: Regularly check in the mirror to ensure sections are consistent, which contributes to a balanced and professional appearance.
Step 3. Secure Unused Sections:
- Clips or Elastics: Use hair clips or small elastics to hold sections you're not currently working on. This keeps them out of the way and prevents interference with active braiding.
Step 4. Take Your Time:
- Avoid Rushing: Precision is key in parting. Allocate sufficient time for this process to ensure each section is clean and straight.
- Patience Pays Off: Careful parting reduces the likelihood of mistakes and ensures a smoother braiding experience.
Step 5. Focus on Precision:
- Use the Right Tools: A rat-tail comb is excellent for creating sharp, clean parts.
- Steady Hands: Keep your hand steady and follow the comb's path closely to achieve straight lines.
Step 6. Apply Hair Oil or Gel:
- Smooth Application: Before parting, apply a light hair oil or gel to your strands. This adds moisture and reduces frizz, making hair more manageable.
- Enhanced Control: Products like edge control can help keep flyaways in place, resulting in cleaner parts.
By following these steps, you'll create a solid foundation for your box braids, leading to a polished and long-lasting style.

Common Challenges When Parting Hair for Box Braids and How to Overcome Them
Parting your hair for box braids can come with a few challenges. Here’s how to tackle the most common ones:
1. Uneven Parts:
- Solution: If you notice parts aren’t straight or symmetrical, don’t worry—just adjust them. Use a rat-tail or fine-tooth comb to carefully fix uneven sections as you go along. Make small corrections to ensure each part looks sharp and neat.
2. Slippery Hair:
- Solution: Silky hair can be harder to section because it doesn’t grip well. To make the process easier, try using a light styling gel, mousse, or even a bit of hair cream. These products add texture and give you more control, making it easier to create clean, defined sections.
3. Skipping Detangling or Moisturizing:
- Solution: Detangling and moisturizing are key steps before starting the parting process. If you skip these, your hair will likely be harder to part, and you may risk causing breakage. Be sure to detangle thoroughly and apply a leave-in conditioner or light moisturizer to keep the hair soft and manageable.
4. Using Too Much Tension:
- Solution: Avoid pulling the hair too tightly when parting. Applying excessive tension can cause scalp discomfort and even hair damage. Keep your movements gentle and steady to prevent unnecessary stress on your hair and scalp.
5. Scalp Sensitivity:
- Solution: If your scalp is sensitive, using a rat-tail comb or fine-tooth comb may be too harsh. Instead, opt for a wide-tooth comb or your fingers to gently part the hair. This will reduce irritation while still giving you control over the process.
By knowing how to handle these challenges, you can make parting for box braids much easier and more comfortable, ensuring a neat, long-lasting result.


Conclusion
In conclusion, proper parting is essential to achieving neat, professional-looking box braids. It not only enhances the overall appearance but also contributes to the longevity of your braids and the health of your scalp. Taking the time to part your hair correctly will ensure a balanced, polished finish.
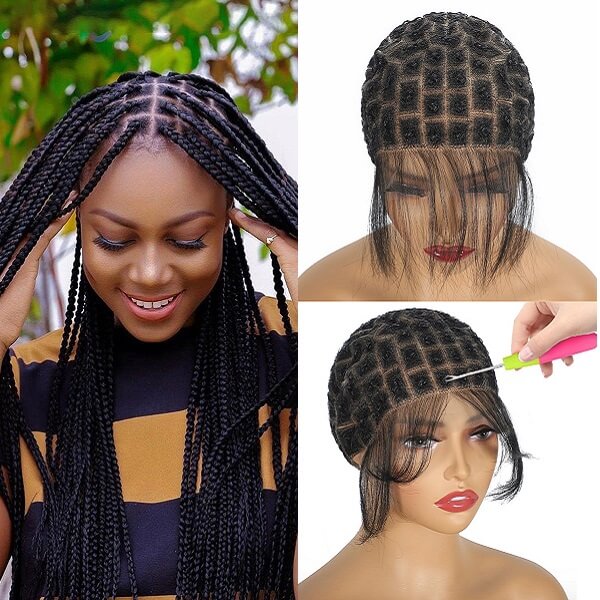
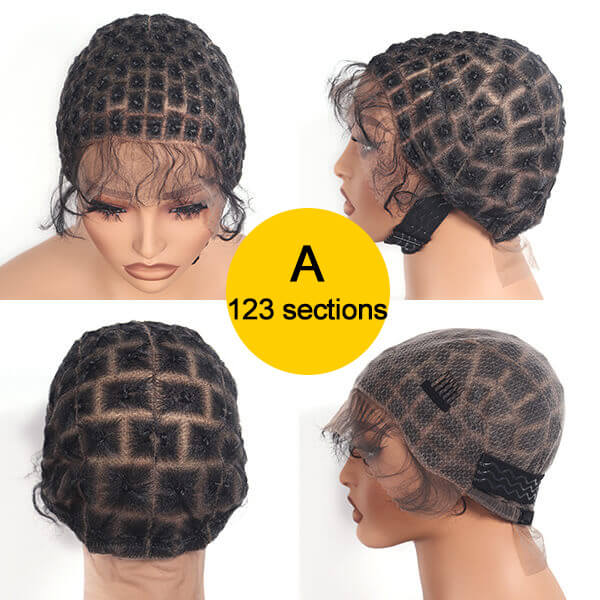
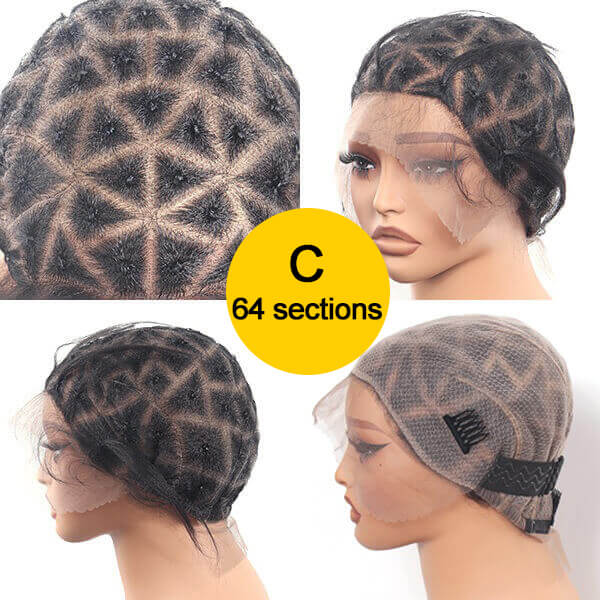
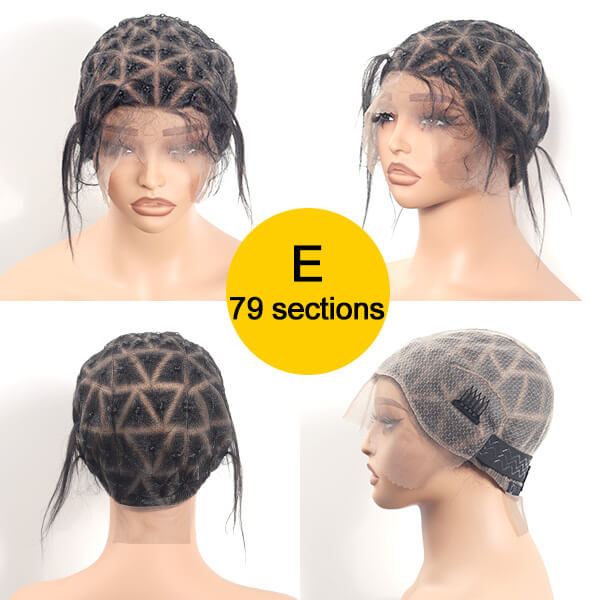
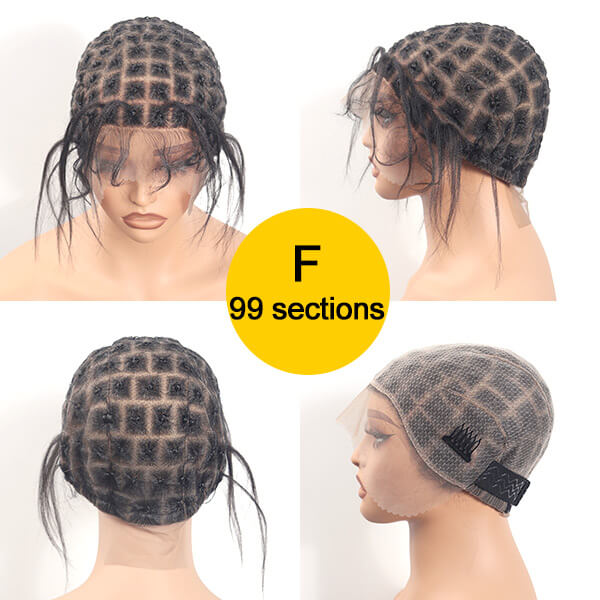
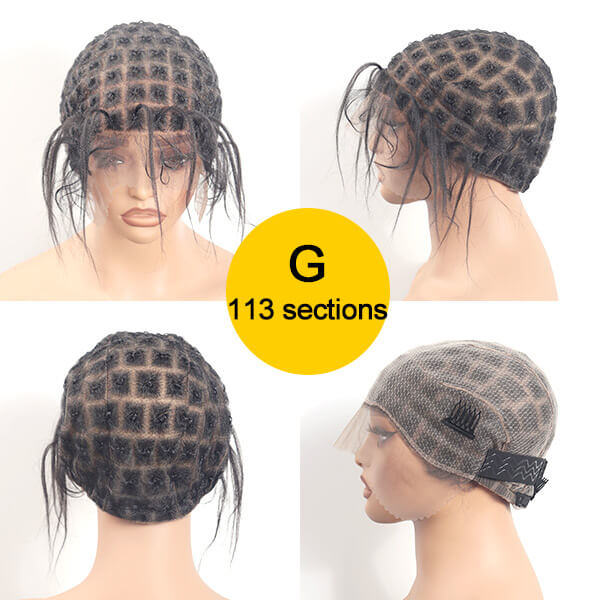
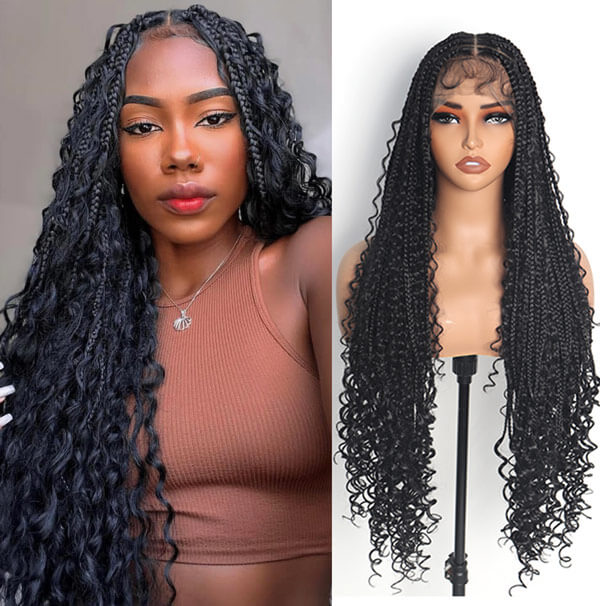
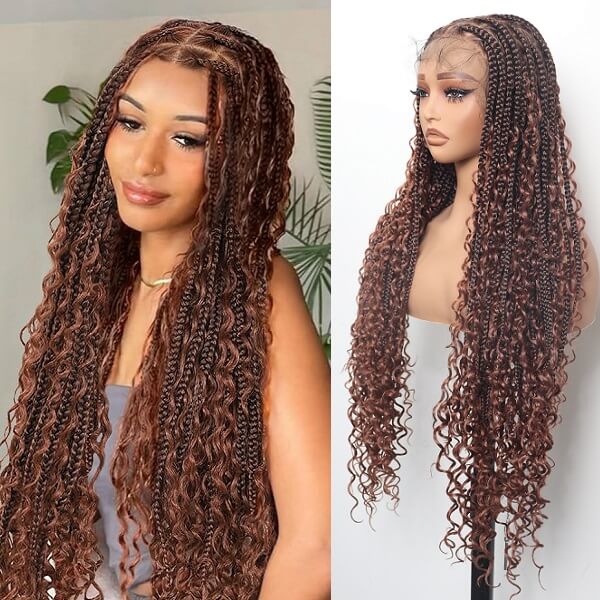
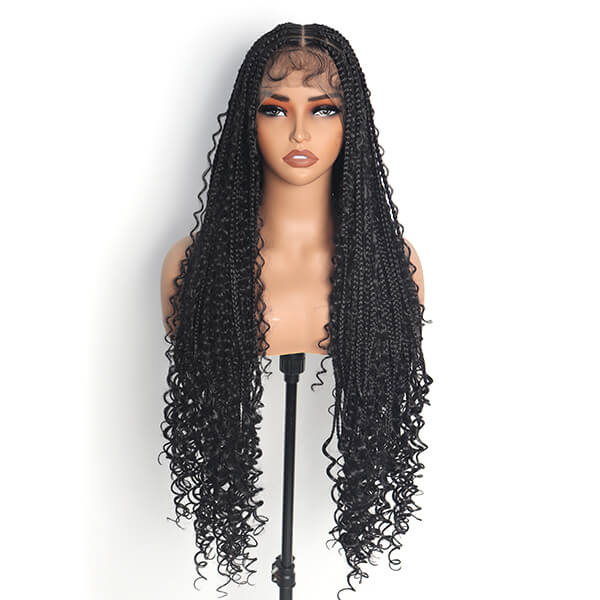
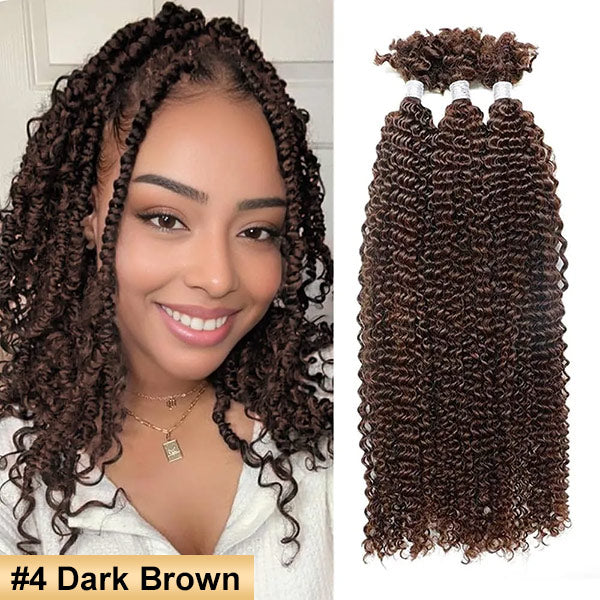
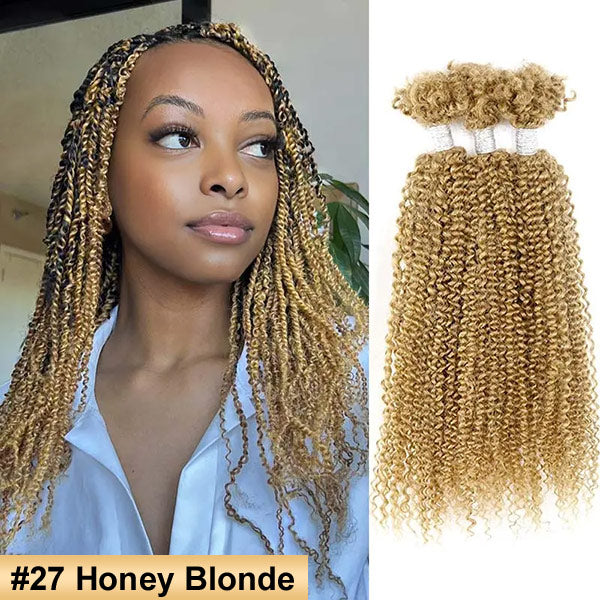
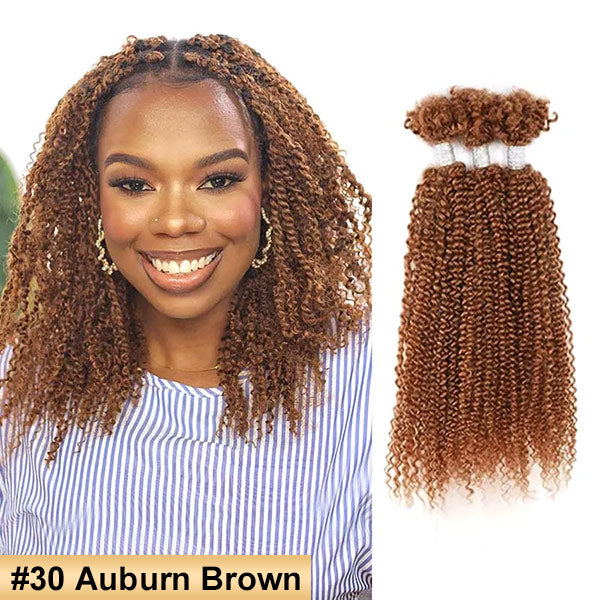
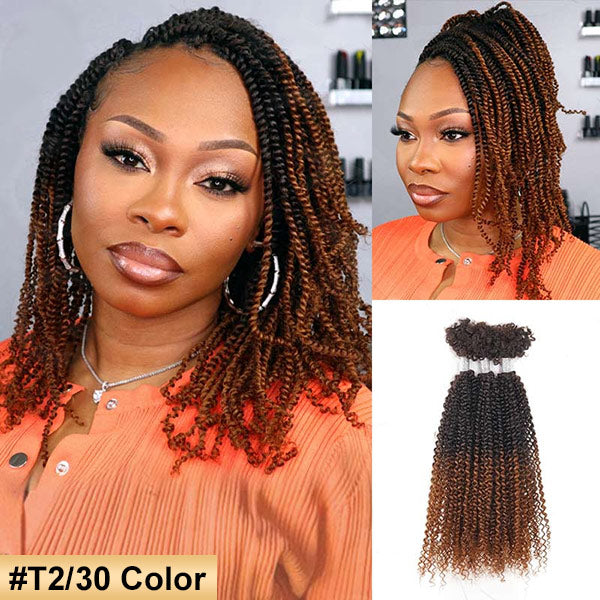
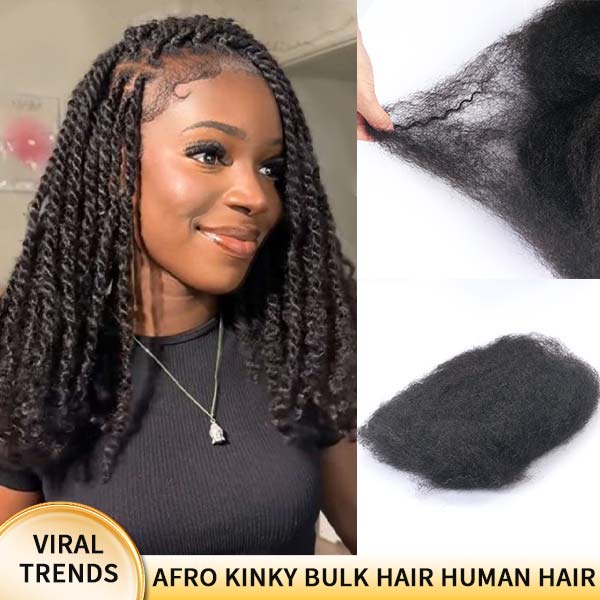
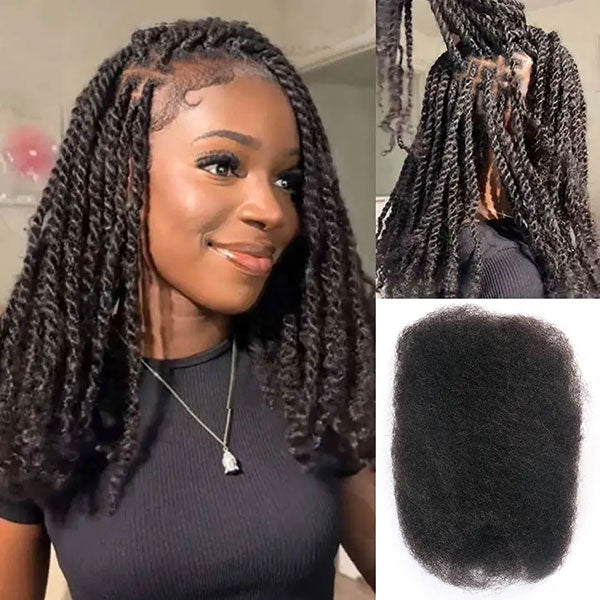
If you’re looking to skip the hassle of parting altogether, explore the convenience of products like pre-sectioned braided wig caps available at MyBraidedWig.com. These products can make the process quicker and easier, or you can opt for a pre-braided wig for an even faster style transformation.
Remember, practice makes perfect! Experiment with different parting techniques to find the one that works best for you. With time, you'll be able to create flawless box braids that last and look great every time.

Related articles:
Are Small Box Braids the Best Choice for Short Hairstyles?
Knotless Box Braids Vs. Box Braids