Box braids are a timeless and protective hairstyle loved for their versatility, low maintenance, and stylish look. Whether you’re aiming for waist-length braids or a simple shoulder-length style, they’re a go-to choice for protecting your natural hair while switching up your appearance. One beginner-friendly way to install box braids is by using the rubber band method. This technique helps you create clean, even sections and reduces tension on your scalp—making the braiding process easier and more comfortable.
In this guide, we’ll walk you through exactly how to do box braids using rubber bands, step by step.

What Is the Rubber Band Method?
The rubber band method is a simple braiding technique where small rubber bands are used to section and secure natural hair before you begin braiding. Instead of holding the hair by hand and braiding from the root, you first create neat square or triangle parts and wrap a rubber band at the base of each section to keep it in place.
This method offers several key benefits:
- Cleaner Parting: Rubber bands help keep your sections sharp and organized, giving your braids a polished, professional look.
- Less Tension: Since the hair is already secured, there’s less pulling at the root during braiding, which helps protect your scalp and edges.
- Beginner-Friendly: Perfect for DIY styling, the rubber band method makes it easier to manage your hair and get consistent results—especially if you’re braiding your own hair for the first time.

What You’ll Need
- Wide-tooth comb and rat-tail comb
- Spray bottle with water
- Moisturizer or leave-in conditioner
- Edge control or gel
- Small rubber bands (preferably black and snag-free)
- Braiding hair (optional)
- Hair clips to hold sections
- Optional: shining spray or mousse for finish
Step-by-Step: How to Do Box Braids Using Rubber Bands
Step 1: Prep Your Hair
Start with clean, healthy hair. Wash, deep condition, and detangle thoroughly to make the braiding process smooth. For best results, stretch your hair using heat (like a blow dryer) or a heatless method (like banding) to reduce shrinkage and make it easier to part and braid.
Step 2: Section the Hair
Using a rat-tail comb, divide your hair into small, even square or triangle parts. Use clips to hold the rest of the hair out of the way as you work. Apply edge control or styling gel around each part to create a sleek base and help define the shape of your braids.
Step 3: Secure Each Section
Take a small rubber band and wrap it around the base of each part. Make sure the band is snug but not too tight—you want it to hold the section firmly without causing discomfort or pulling on your scalp. Consistent tension across all sections will help your braids look uniform.
Step 4: Add Braiding Hair (if using extensions)
If you’re using braiding hair, fold the extension in half and place it under the rubber band to begin braiding. You can also start braiding directly from the root if the band is secure enough. Braid all the way down to the ends. For synthetic hair, dip the ends in hot water to seal. If not using heat, small rubber bands can be used to secure the ends instead.
Step 5: Finishing Touches
Once all braids are installed, apply mousse or styling foam to set the style, reduce frizz, and add shine. If you like, lay your edges with edge control for a polished finish.

Tips for Success
- Prep Your Rubber Bands: Lightly coat rubber bands with oil or conditioner before use. This makes them easier to remove later and helps prevent breakage or snagging on your natural hair.
- Don’t Braid Too Tight: Keep the tension gentle, especially near your edges. Pulling too tightly can cause scalp irritation, tension bumps, or even hair loss over time.
- Focus on Neat Parts: Take your time when sectioning. Clean, even parts give your box braids a neat and professional-looking finish—even if you're doing it yourself at home.
- Work in Small Sections: Don’t try to part and braid your entire head at once. Work row by row and use clips to keep unbraided hair out of the way. This helps you stay organized and prevents frustration.
- Use a Mirror Setup: Set up a 3-way mirror or use a handheld mirror to help you see the back of your head. This ensures cleaner parting and helps you monitor braid placement.
- Moisturize As You Go: Apply a leave-in conditioner or light oil to each section before banding and braiding. This keeps your hair hydrated and helps reduce friction.
- Have Patience: Braiding takes time, especially if you're new to it. Take breaks when needed and don’t rush the process—your arms (and results) will thank you!


Prefer to Skip the Braiding?
Not everyone has the time—or patience—to sit for hours doing box braids. If you’d rather skip the braiding process altogether, hand-tied braided wigs are the perfect no-fuss alternative. They offer the same gorgeous, protective look without the stress on your natural hair or the long install time.
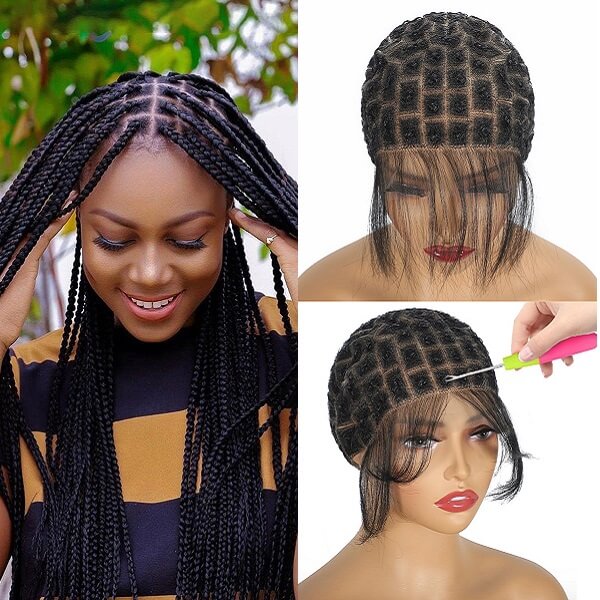
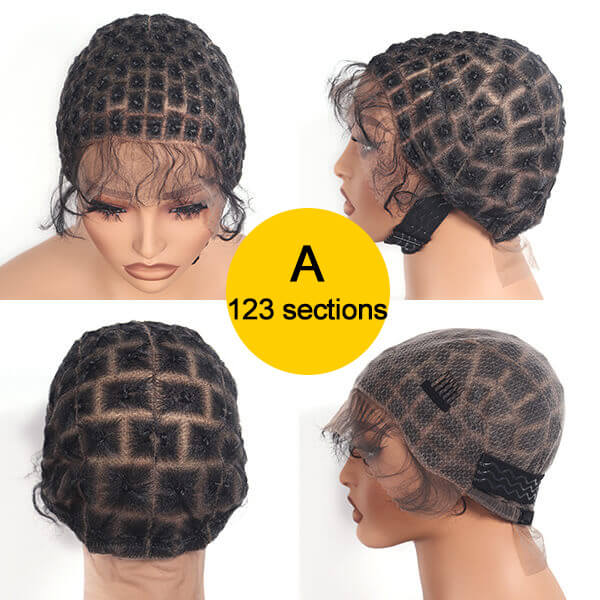
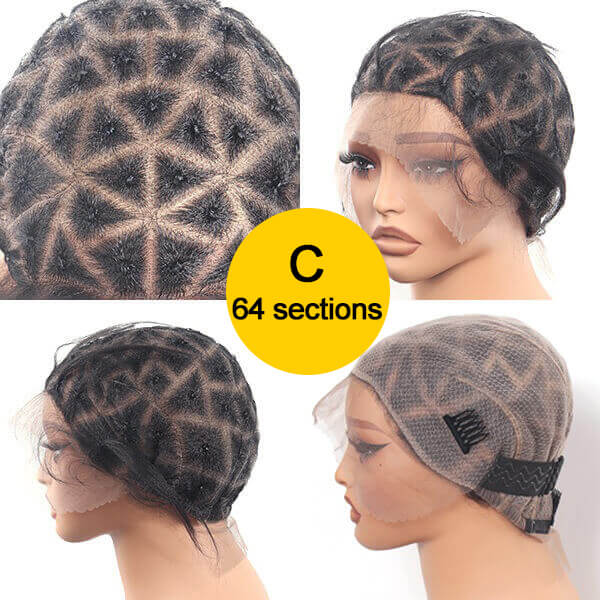
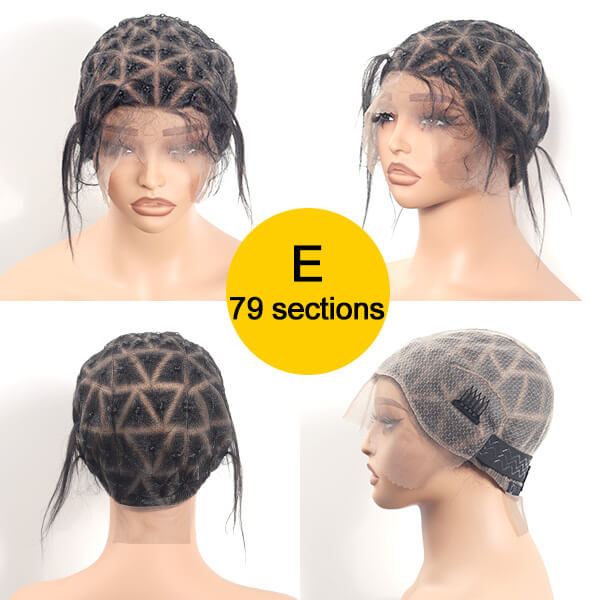
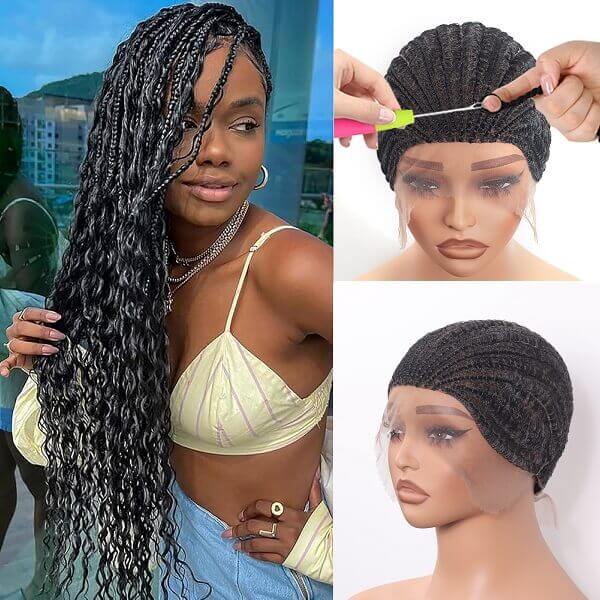
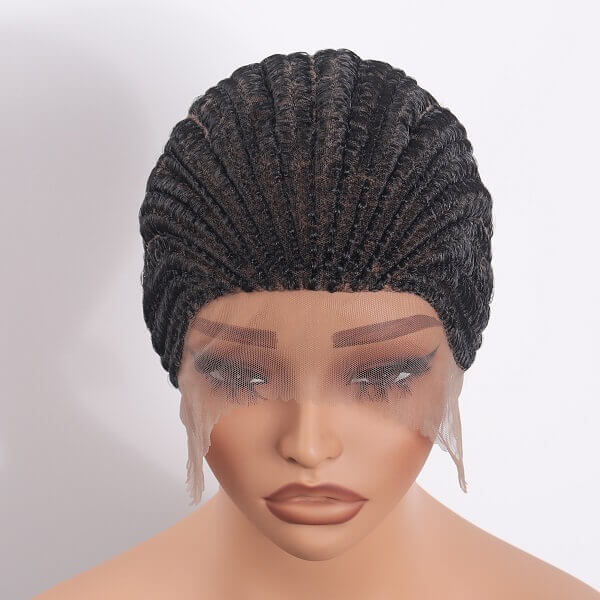
At MyBraidedWig.com, we also offer pre-sectioned full lace braided wig caps designed for easy DIY crochet styles. These caps are ideal if you want to create your own braided look with less tension on your scalp and faster results.
Whether you choose a ready-to-wear braided wig or a DIY crochet solution, you can enjoy the beauty of box braids without the hours of parting, banding, and braiding—plus you can switch up your look anytime.
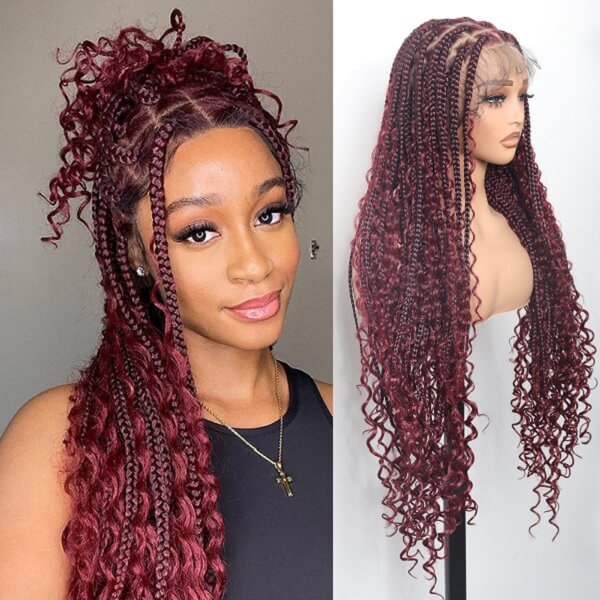
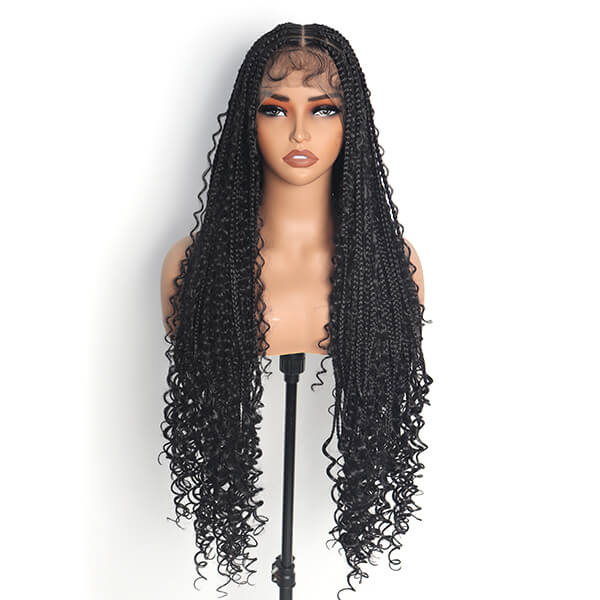
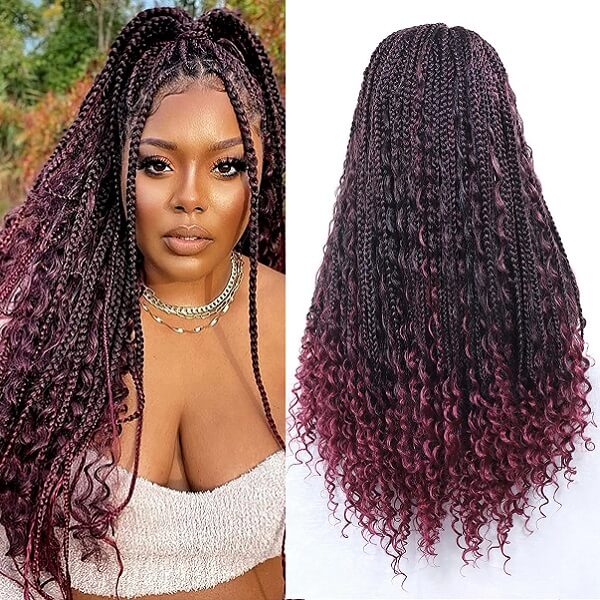
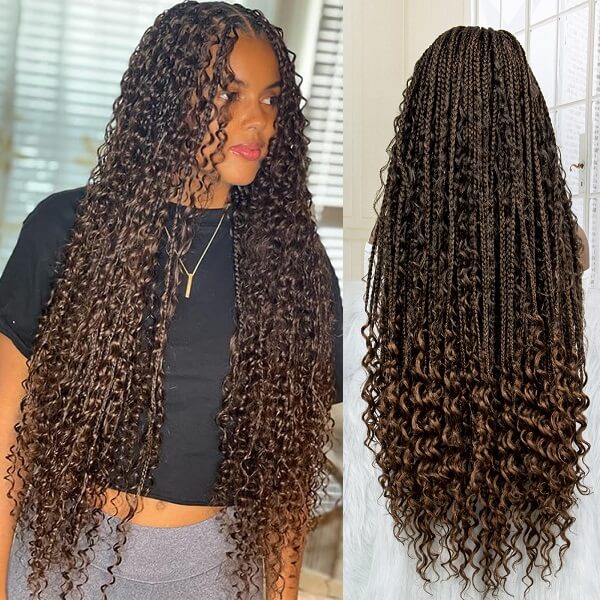
Top-Selling Box Braided Wig Selections
Looking for an effortless braided look without spending hours in the salon? Check out these customer favorites from MyBraidedWig.com:
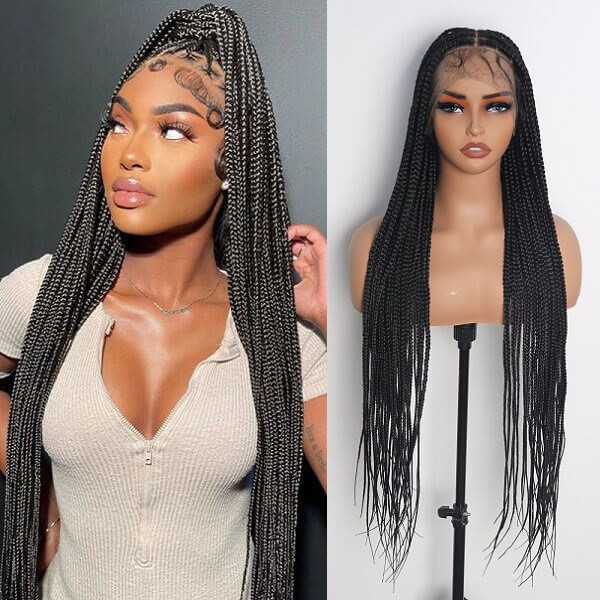
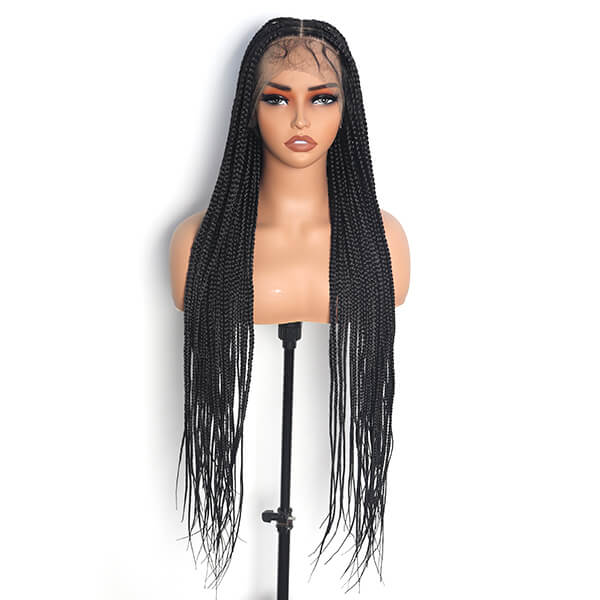
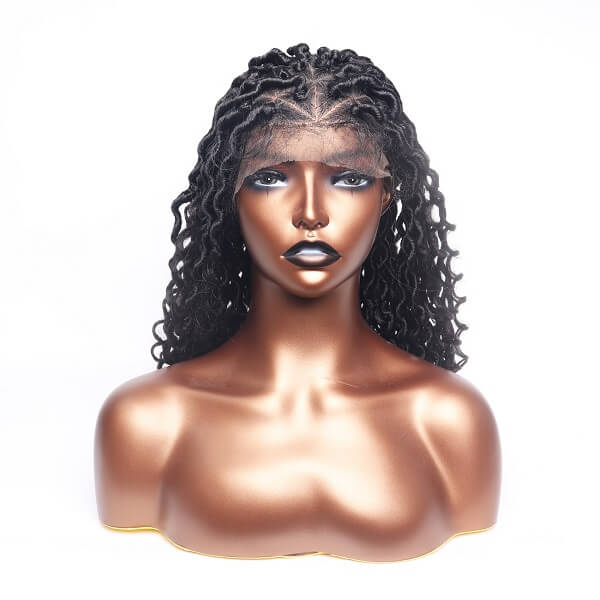
- Full HD Lace Box Braided Wig
-

- Get a sleek, natural look with small knotless square braids and baby hair. This braided wig features full HD lace for flawless blending.
- 👉 Shop Now
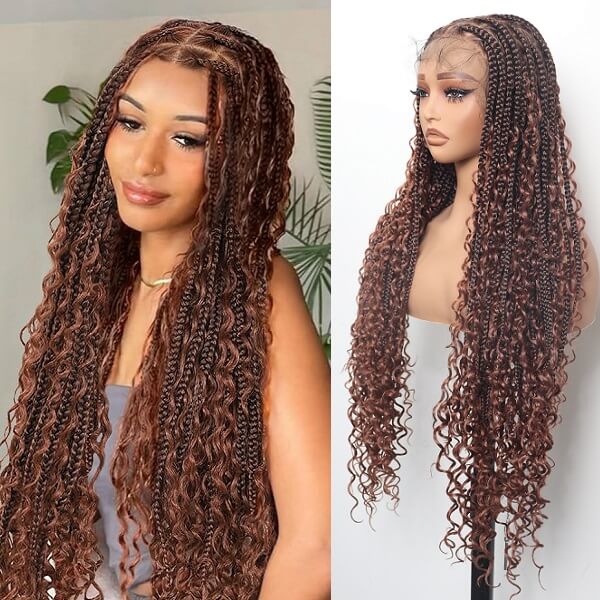
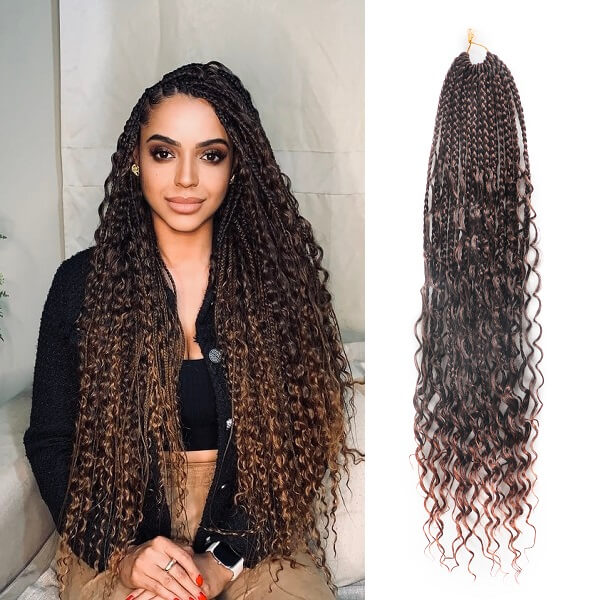
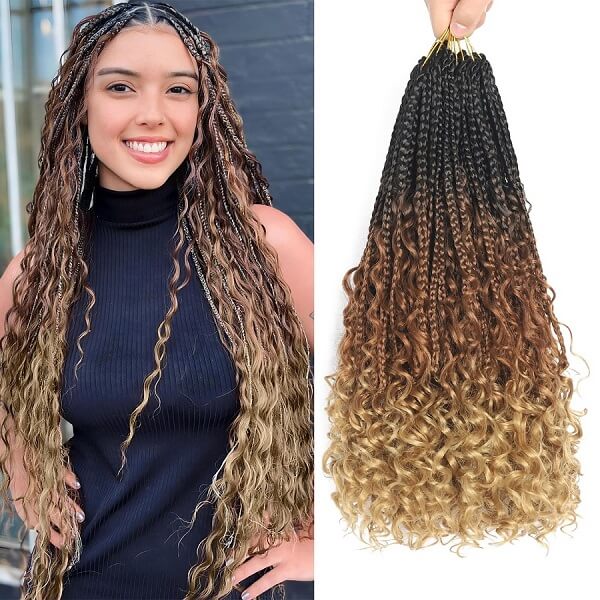
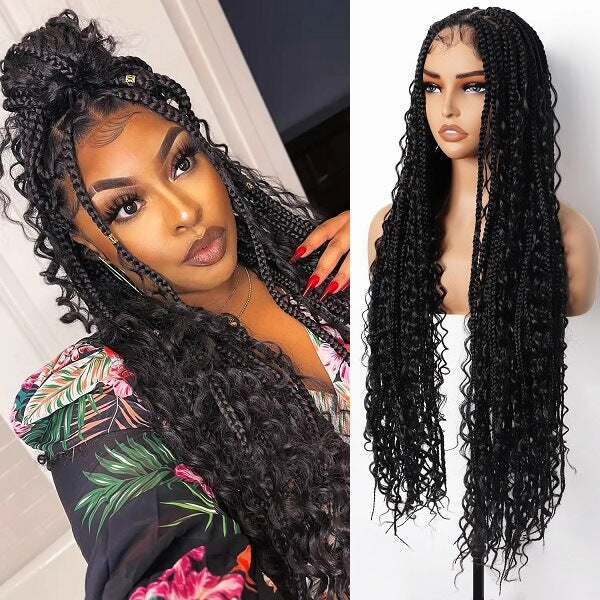
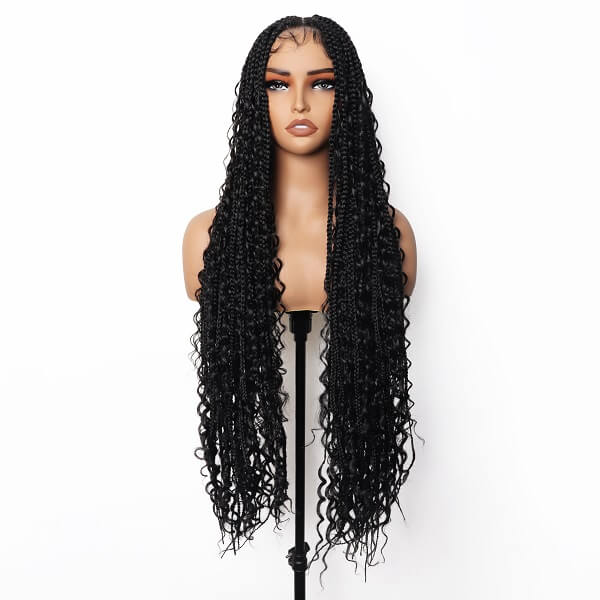
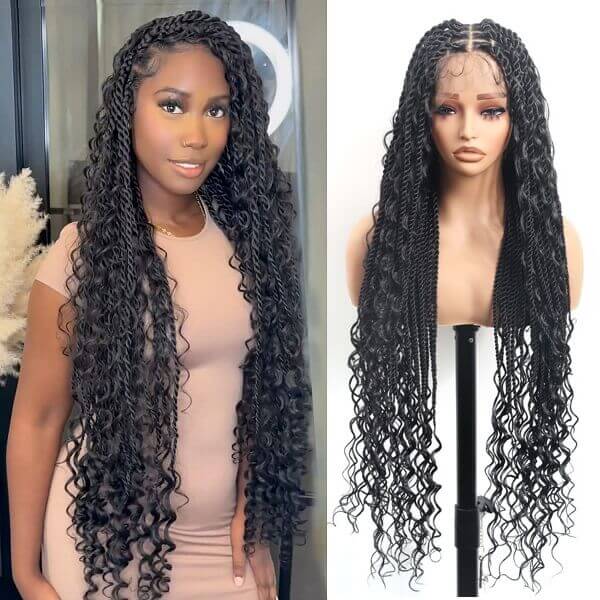
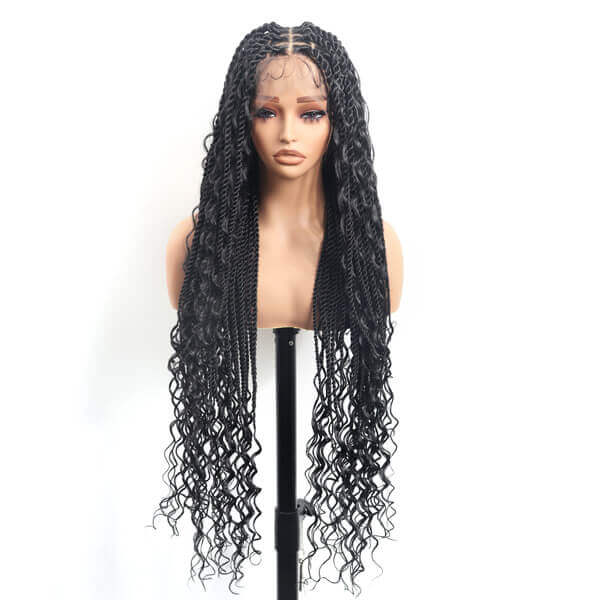
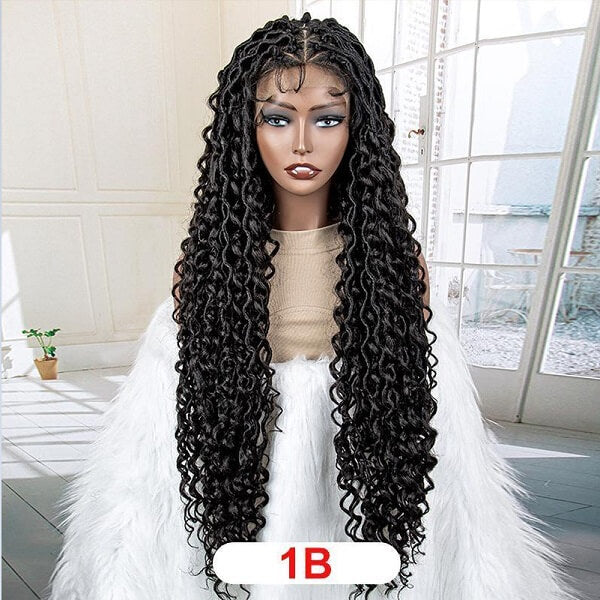
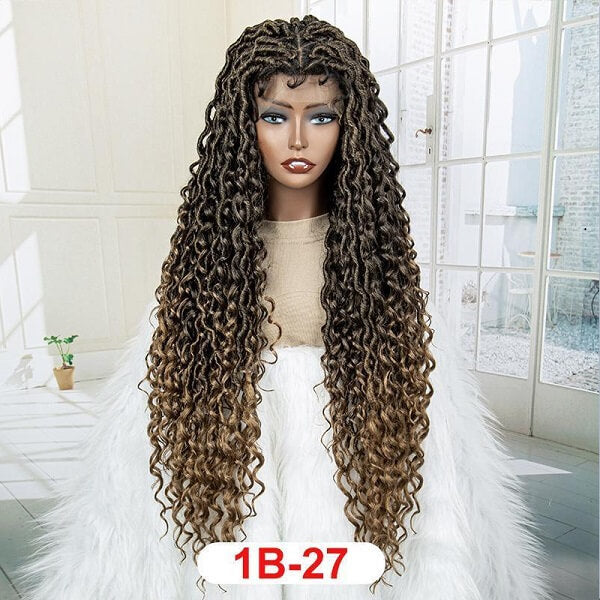
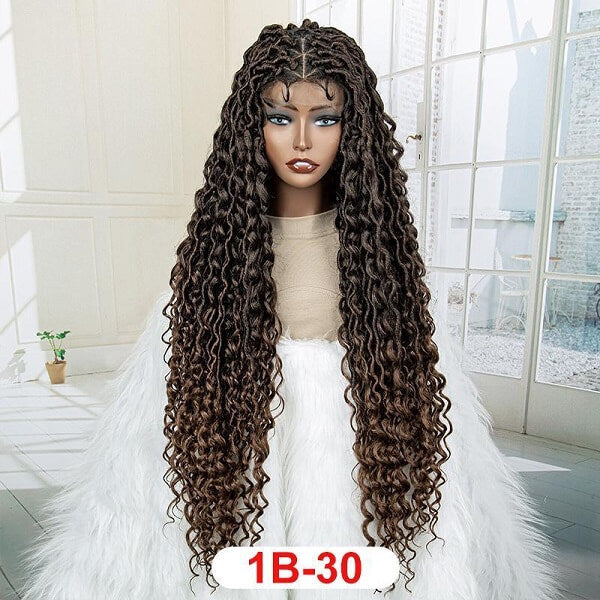
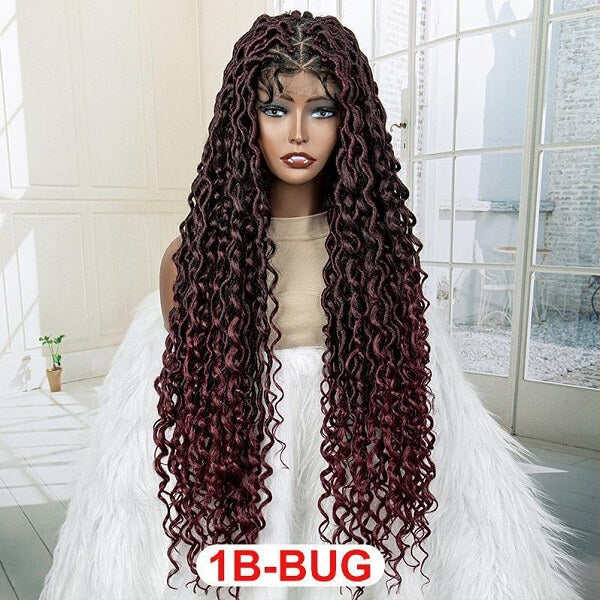
- Full HD Lace Boho Box Braided Wig
-

- Love a mix of braids and curls? This over-hip-length boho braided wig brings soft, curly strands into your knotless braids for a relaxed, stylish vibe.
- 👉 Check It Out
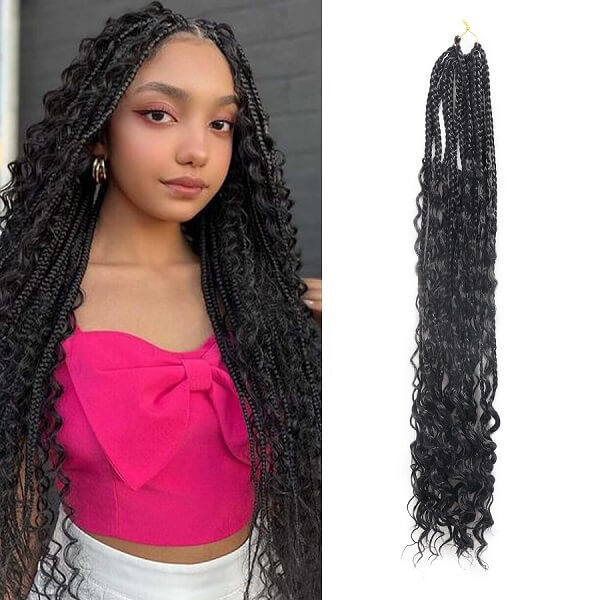
- Pre-Sectioned Full Lace Braided Wig Cap
-

- DIY lovers, this one’s for you! Our pre-parted full lace cap makes it easy to create your own crochet box braids with clean sections and a breathable base.
- 👉 Get Yours Here
These options give you salon-quality results—minus the hours of braiding.
Conclusion
The rubber band method is a simple, beginner-friendly way to achieve neat, stylish box braids with less tension and more control. It’s a great option if you’re new to braiding or just want a cleaner, more manageable process. With the right prep and technique, you can create a beautiful protective style right at home.
And if you’d rather skip the hours of braiding, MyBraidedWig.com has you covered with hand-tied braided wigs and pre-sectioned wig caps—offering the same box braid look in minutes. Whether you DIY or go the wig route, you can rock box braids with ease, comfort, and confidence.
Related Articles:
50 Chic Box Braids Hairstyles For Black Women
How To Do Knotless Box Braids?
Choosing the Perfect Box Braid Size for You